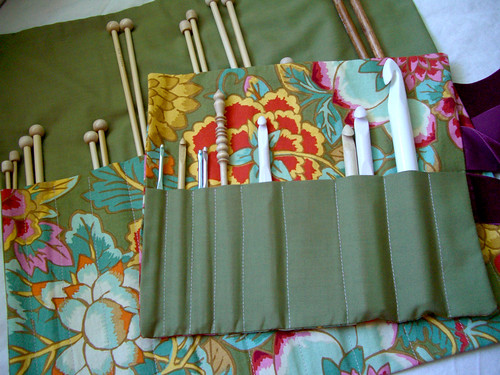
Are you knitting needles shoved in baskets in your closet? Are your crochet hooks hiding at the bottom of tote bags? Then follow this tutorial on how to make a set of these Coordinating Needle Cases. They're fast, easy and can be made from scraps of fabric. Give them as a gift with a pair of needles tucked inside or keep them all for yourself.
Supplies
1/2 yard of cotton fabric in solid color (A)
1/2 yard of cotton fabric in coordinating print (B)
1.5 yards 1" velvet ribbon
1 spool thread
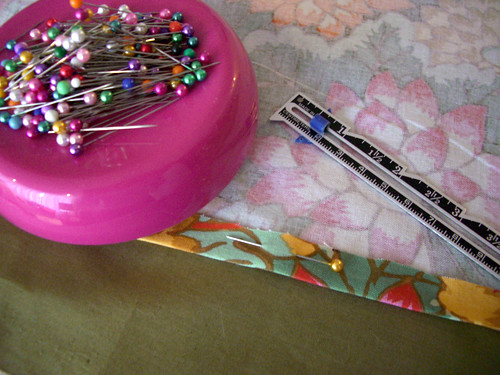
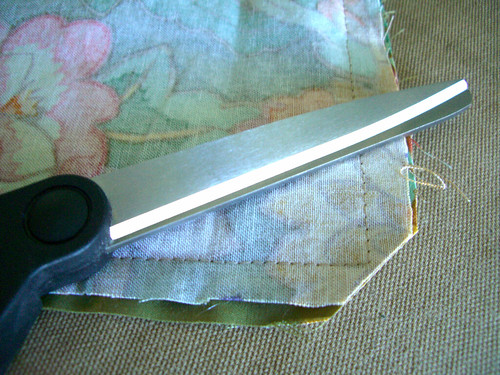
Scissors
Tape measure
Sewing gauge ruler
Pins
Needle
Iron and ironing board
You can choose to work on the cases individually or in tandem. Be sure all fabric is washed and ironed before you begin.
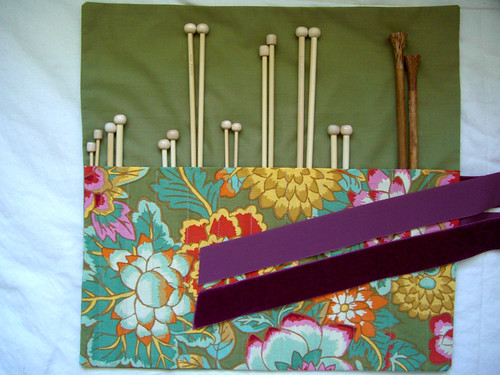
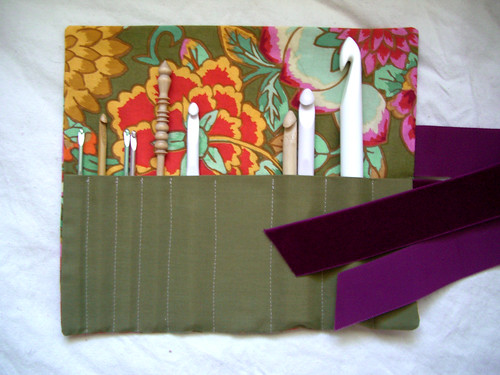
1. Cut - From Fabric A, cut two 16.5 x 15.75 inch pieces for exterior of knitting needle case and one 11 x 5.25 inch piece for crochet hook pocket. From Fabric B, cut one 16.5 x 9.25 inch piece for knitting needle pocket and two 11 x 9.5 inch pieces for exterior of crochet hook case. Cut ribbon into two 18" pieces for knitting needle case and two 9" pieces for crochet hook case.
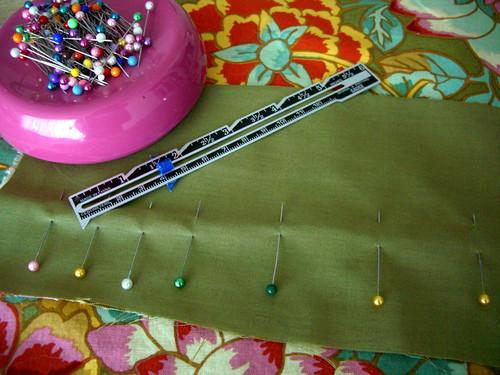
2. Make Pockets - Fold and pin 1/2 along one long edge of pocket pieces. Iron flat.
Match the cut edges of the pocket to the matching edges of one of the exterior pieces with right sides facing you. Mark for pockets, with stitch gauge measure and pin 1.5" from left raw edge. For next pocket and following two pockets measure and pin 1" to the right from previous pin. Continue measuring and pinning increasing the measurement by 1/2" for larger pockets. If you have mostly small needles then make mostly 1" pockets, for a collection of larger needles create 1.5 to 2" pockets. Stitch at each pin from folded pocket edge to raw edge back-stitching at each end.
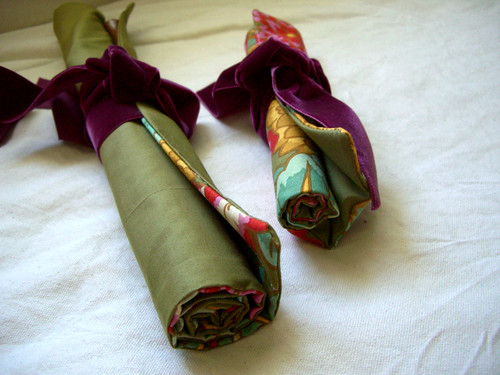
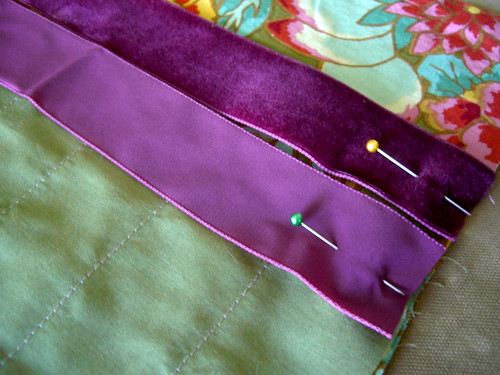
4. Attach ribbon - Match ribbon edge to right edge of exterior piece with top edge of ribbon. The top edge of the ribbon can be visually centered on the needle case. Pin with wrong side showing. Pin the second piece of ribbon, right side showing, with bottom edge 1/8" from the top edge of the first piece of ribbon. Stitch 1/4" seam back-stitching at both ends.
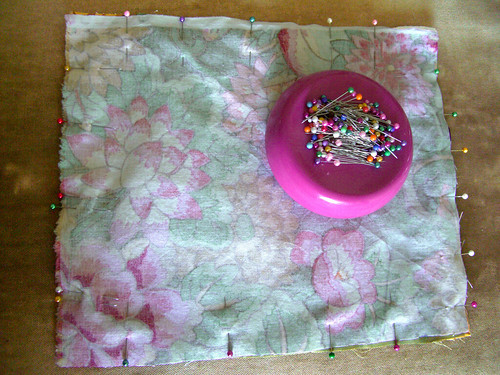
5. Sew case together - Pin exterior pieces with right sides together making sure not to catch ribbon in pins or stitching. Stitch 1/2" seam around perimeter leaving a 2" opening on left side being sure to pivot at corners and back-stitching at each end.
6. Turn, sew and iron - Trim corners. Turn work right side out. Stitch opening closed by hand with needle and thread. Press seams and edges flat.
7. Fill and enjoy!