The Cuddlebug {free baby hat knitting pattern}

The Cuddlebug

Finished dimensions: 5"h x 15"circ.

Yarn: Plymouth Yarn Refashion
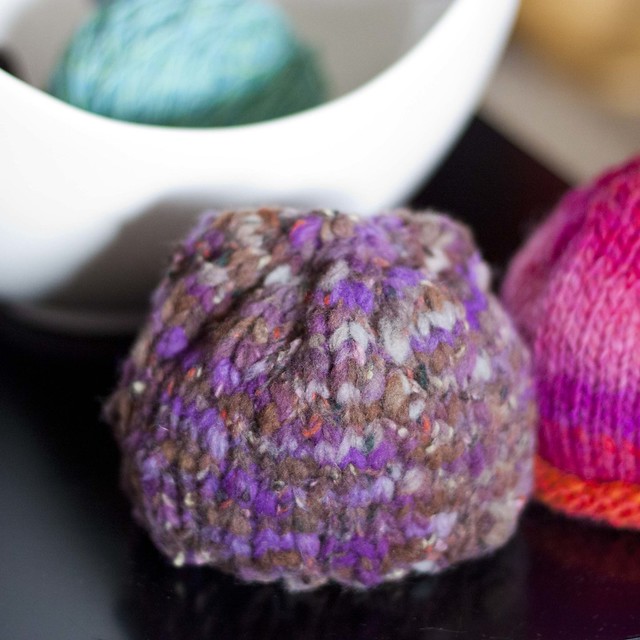
68% recycled wool, 5% recycled cashmere, 23% nylon, 4% rayon
Color: 804

Needles: US size 10.5, double-pointed needles

Gauge: 12 sts over 4 inches

: :: ::: :: :

Begin:
Cast on 44 sts. Join in the round and begin ribbing. Work *K1, P1* repeat from *to* around. Work ribbing pattern for 1 inch.

Next round: K all sts. Continue working in this manner until hat measures 4" from CO edge.

Begin decrease: K1, K2tog, K2, K2tog, K2, K2tog, K2, K2tog, K1, K2tog, K2, K2tog, K2, K2tog, K2, K2tog, K1, K2tog, K2, K2tog, K2, K2tog, K1, K2tog. 32 sts remaining.

Next row: *K2, K2tog* repeat from *to* around. 24 sts remaining.
Next row: *K1, K2tog* repeat from *to* around. 16 sts remaining.
Next row: K2tog around. 8 sts remaining.
Next row: K2tog around. 4 sts remaining.

Finish off remaining sts and weave in all yarn ends. Hand deliver immediately to the cutest baby you know.

omg. he's so cute!

so cute

I was flipping through some photos and that's what went through my head so I thought I'd share his adorableness with you tonight. Geez, he's cute. Sometimes I think his brain has a few less cells than necessary but he more than makes up for it when he looks at me like that.

I stopped at a traffic light today and thought my car was making strange tink-tink-tink type noises, I start looking all around examining the car. What was that? Do I have my triple-A card? Then I realized it was raining. Ah, the life of a Californian.

DIY: Gas cooktop install

With the upcoming insanity reroof project, I realized that I don't really talk about the crazy DIY projects we get ourselves into around this house. Thomas is a big-thinking engineer and I grew up helping my dad build cabinets and fix things around the house, meaning he dreams it and I plan it, measure it, and cut it. It works well for us.

Here's how we spent our New Year's Eve 2007, installing a gas cooktop in our island. Me, cutting:

cutting a hole!

I'm not quite sure it's going to fit in that hole but we give it a try.

The hole and the cooktop

Now we need to plumb the gas lines!

Cooktop

And, done! Such an improvement over that yellow, ring range on the back wall! The cooktop is still working, no gas leaks, and it's so dreamy! DIY success!

cooktopinstalled